April 26, 2013

Poutine Files: Little Tap House and Blue Rooster Food Co.

Do you want the good news first or the bad news? I like to end on a happy note, so we'll have to start, unfortunately, at Little Tap House.

My first look at LTH was promising - but the poutine fell short. Namely, lacking in cheese curds (there are a few? by the fork?) and covered in beef brisket and au jus. No. I need gravy. 

I feel terrible condemning this, as LTH is a lovely place. But this "Why Can't Americans Get Poutine Right" rant covers it with #3. America tries to "improve" upon poutine. NO. 


The fries were good, and I look forward to trying them plain next to a burger (which was voted the best pub-style burger in Maine by Eater Maine readers). But I will continue my search for the best poutine in Portland.


Bayside Bowl is officially too late to the party, after months of gently suggesting *ahem* that they serve totine or tater tot poutine, now that Blue Rooster Food Co. has beaten them to the punch. 

I was surprised to not love totine as much as I imagined I would. I think soggy tots failed me - gravy-logged fries are great, but it fails to transfer to tots. That aside, this was really stellar. Dispatch Magazine writer Conner Tubbs says it best: "Tater tot poutine. Boom. Mind freak... I died. You’re gonna die guys. It’s so good."

I was more like, yeah, yeah, this is good. I can eat this (oh god, can I really eat this?), I'm doing it, I'm eating it. I ate it, I need a nap. 

Stay tuned! Still looking! Right meow, Hot Suppa! is the poutine to beat. 

April 24, 2013

BBF Travels: Eating Brooklyn

I went to New York last weekend to visit Original Roomie A., and we ate our way through Brooklyn. 

When I visit A., I always let her show me the hot food spots in town, and she takes me around while we eat, and eat, and eat... then kill time until it's time to eat some more. I'd love to say I visited museums, went to shows, saw lots of non-Maine type culture, but really it was just I Ate New York, Round 2.  


Eddie Huang's Baohaus in the East Village, where we sampled Chairman Bao, the original pork belly bao with crushed peanuts, cilantro, and relish, and a fried bao drizzled with a sweet black sesame glaze. 


Fried chicken cemita at Cemita's stand at Smorgasburg, the wonderful outdoor food fest that happens every Saturday down by the East River in Williamsburg. A half a sandwich each almost put an end to our eating plans. 


Warming up with tea and fruit at Zenkichi, a Japanese brasserie that delighted us with its terrariums, trees growing through the middle of the restaurant, and its transparent ceiling. 


The Prospect Park Farmers' Market, more baked goods from Dough (a cafe au lait donut), and a dill cheddar biscuit which we overheard contains "artisanal crack cocaine" from Cafe Grumpy


Dinner at Prime Meats, where the salad covered in bleu cheese and bacon was by far the lightest thing we ate or drank - Herb & Gruyere Cheese SpƤtzle, two kinds of wurst, banana cream pie, and Manhattans. 

And still there was more that went undocumented! I marveled at how the prices in Brooklyn were not that much higher than in Portland and how any of those restaurants could easily exist here (although not on every corner, and we would certainly fawn over each of them).

But while it's a nice place to visit, and I'm glad I have a friend there, we were very excited to cross back over the river into Maine and be home again. That pace of eating is just not sustainable.

April 12, 2013

Roasted Vegetable Pesto Quinoa

I wish I always had a healthy lunch. One with lots of vegetables, that's low-carb, and helps me avoid the 2:30PM crash that leaves me staring slack-jawed at my computer screen. 

My lunch reality is a little removed from that. But this lunch is virtuous without being boring - a nice quinoa bowl (I promise to flog myself later for saying 'quinoa bowl') with sweet roasted root vegetables made exciting by tossing the whole thing with pesto and topping it with sliced red onion. 

Pesto Veg Quinoa by BlueberryFiles

Roasted Vegetable Pesto Quinoa
Adapted from New York Times

Root vegetables of your choice, washed, peeled, and chopped
(Suggested: pasnips, carrots, sweet potatoes, Brussels sprouts, shallots)
Olive oil
Spices (suggested: cumin, cayenne, thyme, and chili powder)
Salt and pepper
Handful of arugula
1/2 cup dry quinoa
1/2 cup basil pesto (I used Giovanni Rana brand)
Sliced red onion

Preheat oven to 425*F.

Drizzle your cubed vegetables in olive oil and sprinkle with spices, salt and pepper. Toss with your hands and spread in a single layer on a baking sheet.

Roast vegetables for 20 mintes, turning halfway, then reduce oven heat to 375*F and cook for 10 minutes more or until vegetables are fork tender.

While vegetables are roasting, cook quinoa as you would pasta - none of this steaming like rice BS - by boiling in a plentiful amount of salted water. Drain quinoa.

Toss hot vegetables, as many handfuls of arugula as you'd like, pesto, and quinoa until combined. Top with sliced red onion to serve.

Serves 2.

Disclosure: Pesto sample was sent to me by Giovanni Rana, and I chose to mention the brand because I enjoyed the product. No other compensation was received for this mention. 

April 5, 2013

Dehydrating Beef Jerky

While I was teaching a canning class recently, I was discussing the upcoming drying class with some class participants who were also coming to the drying workshop. One said, are you going to talk about making jerky? I said, ...yes... why yes, of course! (Ahem.) 

So then I had to learn how to make beef jerky. I found the process to be so simple and the results so great, that I'll definitely be making it again for myself. 


Because I was teaching from an Extension (thus food safety) perspective, I had to be sure to give the safest, most up to date recommendations for dehydrating meat. But my sources all varied on the topic - specifically whether to cure the meat before drying it or not. 

I felt like many must before taking a canning class. I read conflicting advice all over the internet. I just wanted someone to tell me definitively what to do, since the word "botulism" kept reappearing in my reading. 

So I turned to my friend Evan who makes and sells his own jerky (Mobtown Meat Snacks). He recommended curing the meat first, to avoid microbial growth and the risk of botulism. I was sold. 

To keep things simple (and since I was short on time), I went to Cabela's and purchased a package of jerky seasoning and cure. This is nothing more than ground spices and cure, so you can very easily (and cheaper) make your own. 


I used local beef, a pound of London Broil ($9.99/lb.) from Rosemont Market. Lean meat is recommended, since fat doesn't dehydrate well and can cause the jerky to go rancid. I froze it for about an hour, to make it easy to slice, and then sliced it very thinly (1/4" inch or less). You can slice it thicker, but it will take longer to dry, and I was in a hurry. 

I laid the beef slices out on paper towels to dry it and sprinkled it with the recommended amount of seasoning and cure. According to my package directions, I used 2 teaspoons of cure and 1 1/2 teaspoons of seasoning for 1 pound of meat. 

If you aren't interested in these pre-packed cure and seasoning mixes, you can make your own seasoning mix (out of whatever spices you want) and use curing salt or pink salt (dyed pink because it's toxic in large quantities) and use 1/5 teaspoon per pound of meat. 


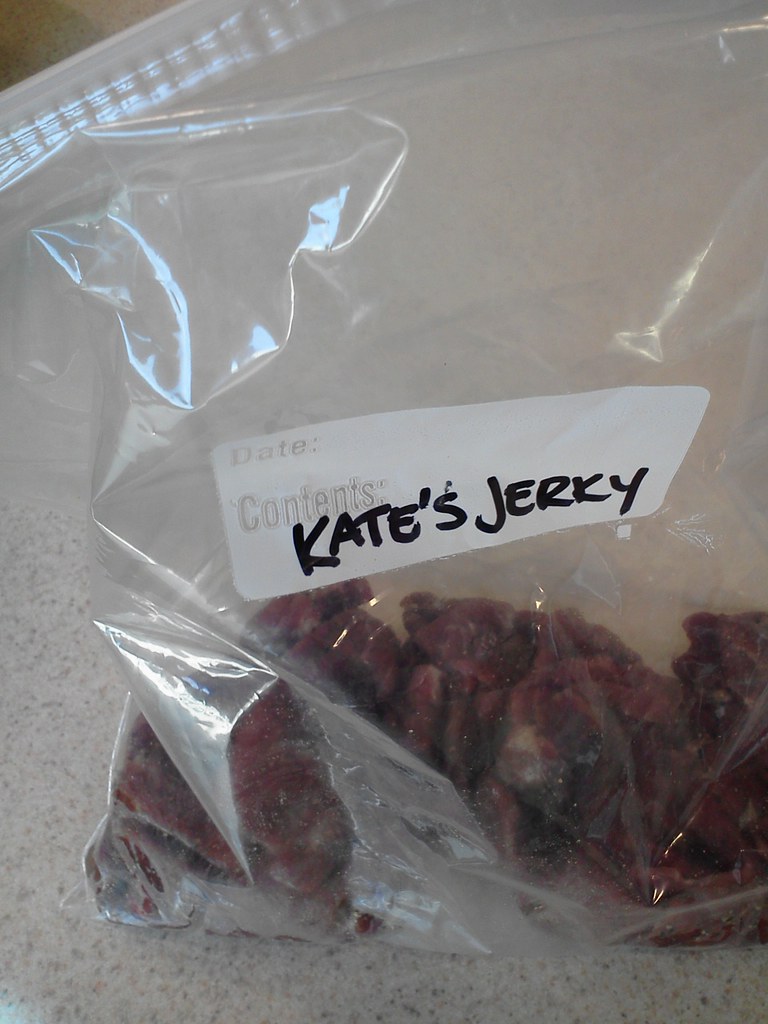
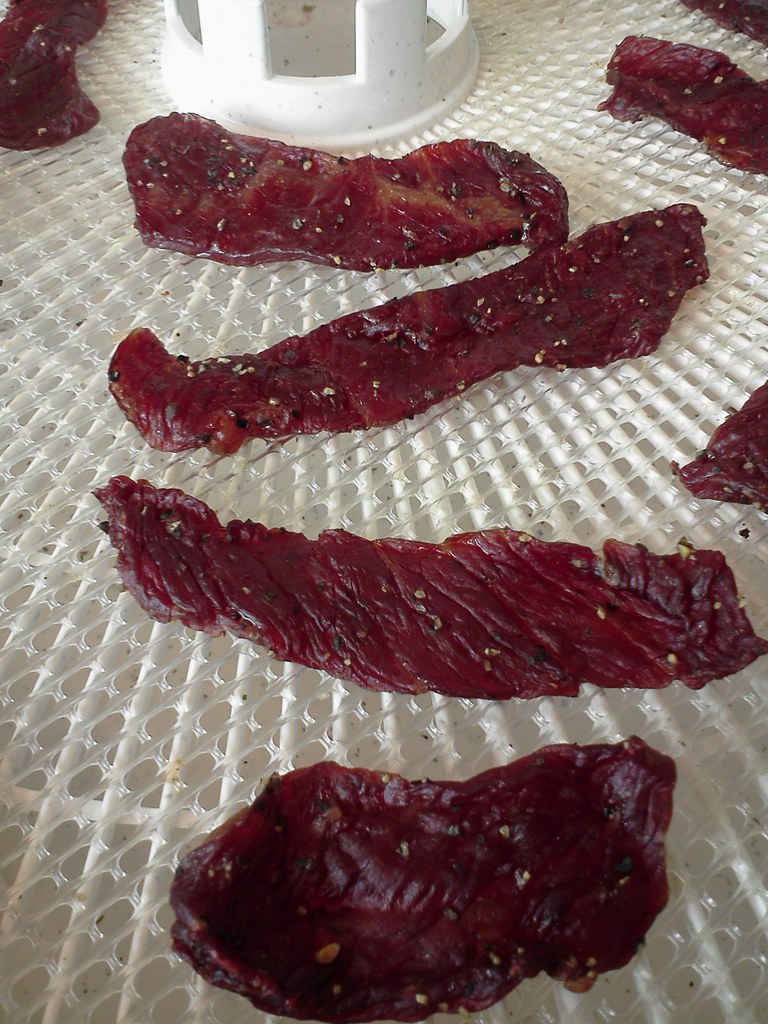
Then I bagged up the beef and marinated it for 24 hours in the fridge. The next day, I spread it out on the trays of my electric dehydrator. I have an Open Country 1,000 watt unit (oh heyyy, which is on sale at Cabela's right now!) and dried the beef at 155*F for 3 hours, which for how thin I sliced it was plenty of time. If it's a thicker slice or if you like it crispy, keep drying until it's to your liking. 

So to totally brag, someone in the drying class declared it the best jerky they'd ever had. And it was so easy! I hardly feel like I can take the credit. But I will definitely be making some again, since for $10 a pound, this stuff is way cheaper and better than store bought. 


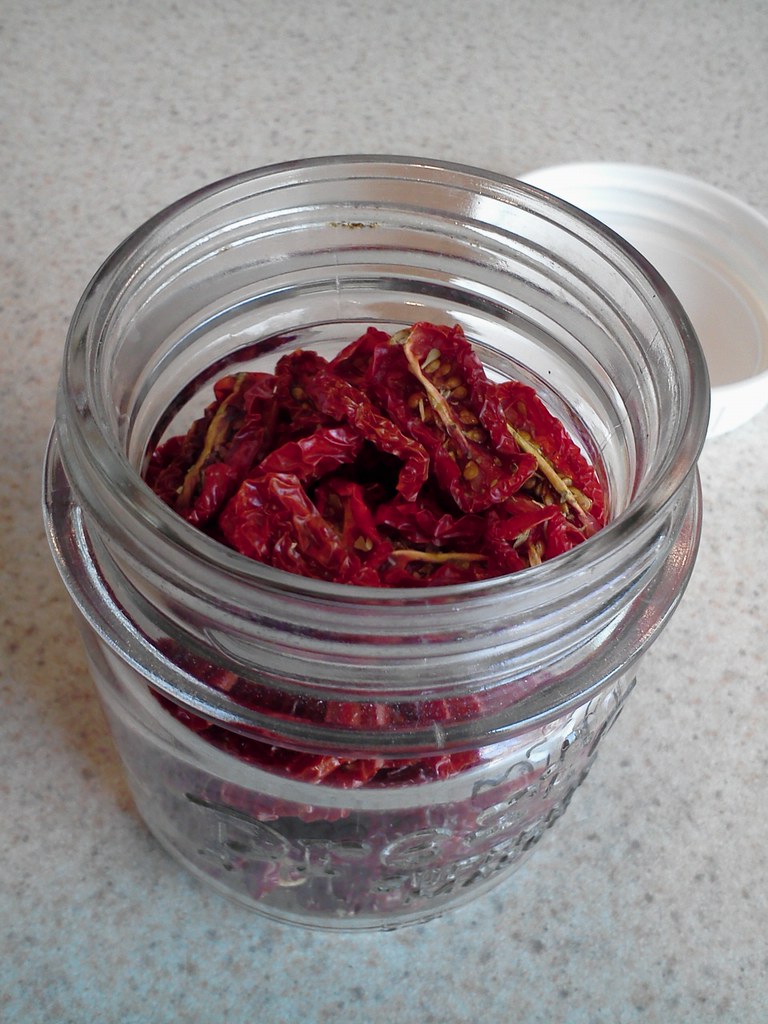
Bonus dried tomato shot: 


Dehydrate these grape tomatoes for 12 hours at 135*F after sprinkling them with a dried Italian herb mix. I eat them like candy, but I'm sure there's plenty of uses in cooking.