
I joke that there are certain hobbies I'm saving for later—like knitting. I figure I've got a long life ahead of me (knock wood), so I've got to save some things for later. Homebrew fell into that category for a long time, and plus it seems like a mid-30s hobby... your taste in craft beer needs to develop and you need to have enough disposable income for the pricy supplies. So this past fall, something finally clicked, and I stopped seeing homebrewing as a somewhat boring activity, and became interested in trying it.
Fortunately, a lot of the men in my life have dabbled in homebrewing, so there was no shortage of family members who wanted to give me their equipment and dole out advice. I started by slowing gathering the equipment and helped a friend brew a Scotch ale in order to get an overview of what the process was like.

After receiving a beer kit for Christmas (thanks, Liz!), the time had come to jump into making my own batch of beer. I started with a one-gallon kit from Brooklyn Brew Shop for Everyday IPA. The idea behind Brooklyn Brew is for city dwellers with limited space to make small batches of beer, so the kit comes with everything you need minus some common kitchen items. My next batch will be five gallons of beer or about 50 12-ounce bottles (!!).
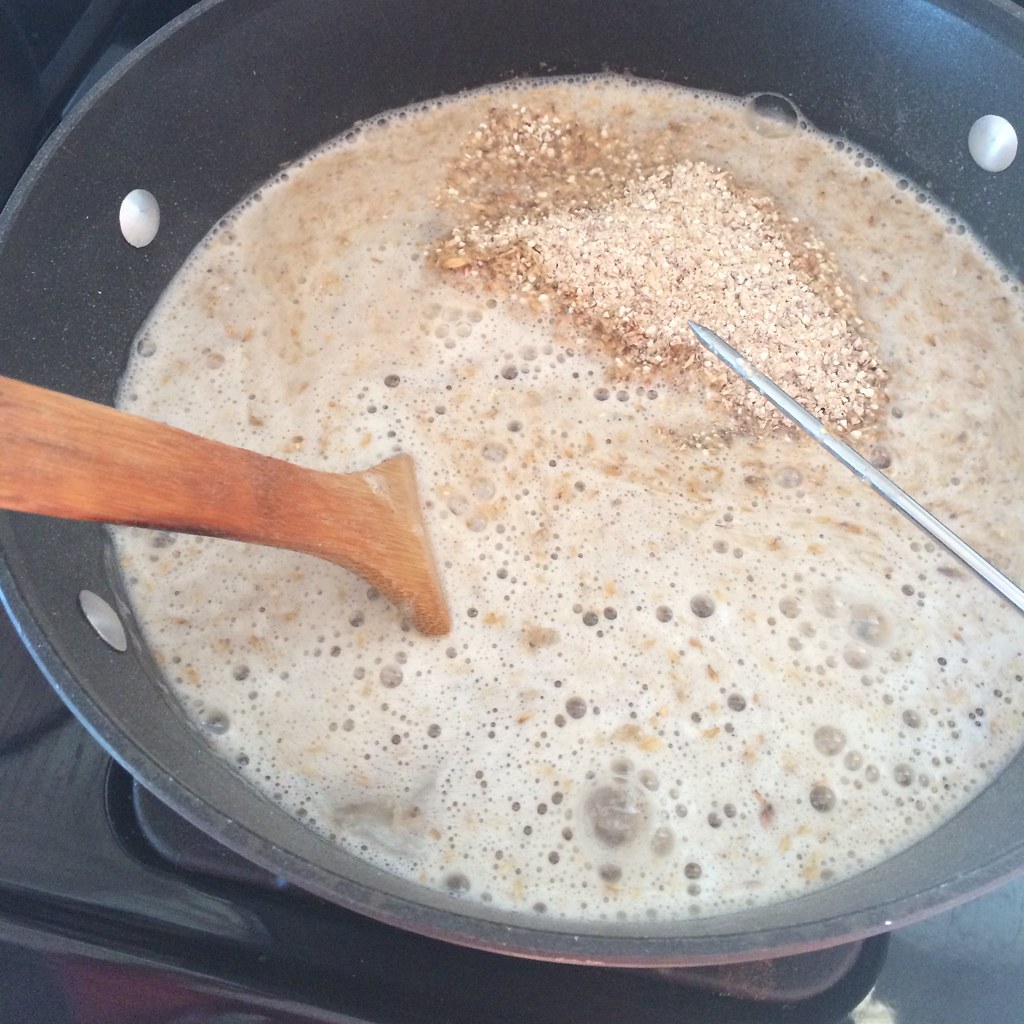
The first step is heating the grain (aka mashing) to create the wort. This involved heating the grain with water to a certain temperature, maintaining that temperature for a period of time, then straining out the grain. This step does a few things, but its primary purpose is to turn the starches into fermentable sugars.
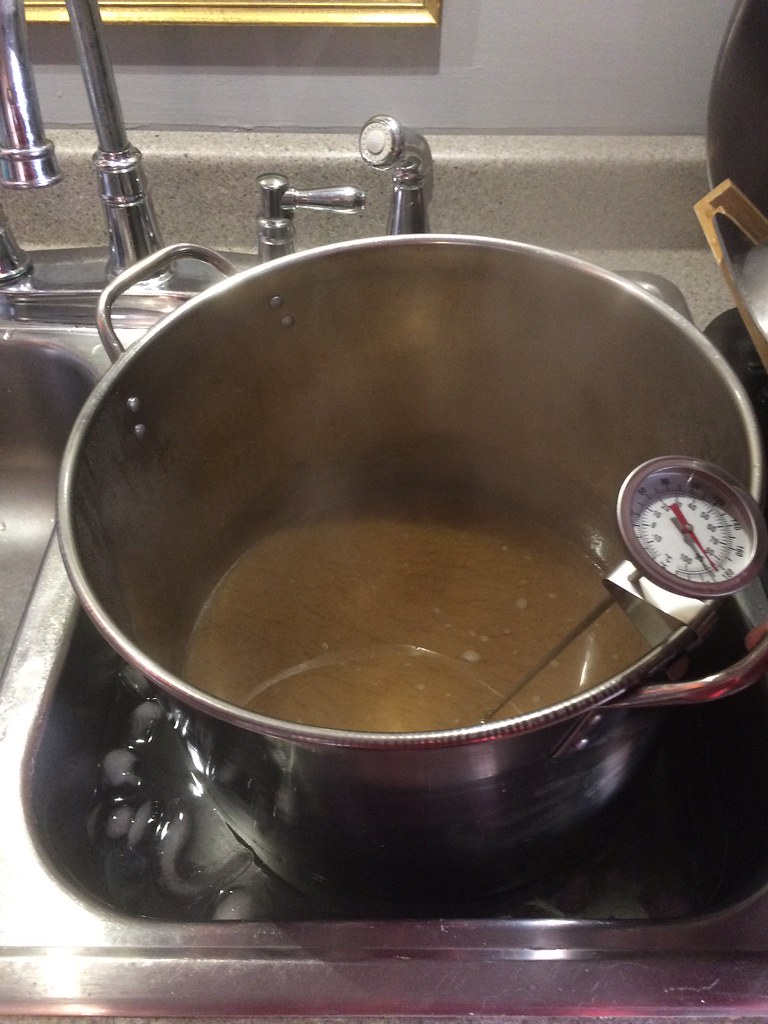
The next step is to boil the beer and add hops as you go. The boil takes an hour, but my IPA recipe called for me to add hops every 15 minutes. Hops are added in different stages to contribute to flavor development (i.e. creating bitterness when added at the beginning of the boil and more volatile hop flavors, like pine or citrus, when added at the end).
After the boil was complete, I put the pot in the sink to cool. I do have a fancy wort chiller, but it wasn't worth it to hook it up for a gallon of beer—an ice bath in the sink brought my beer down to 70*F fast enough.
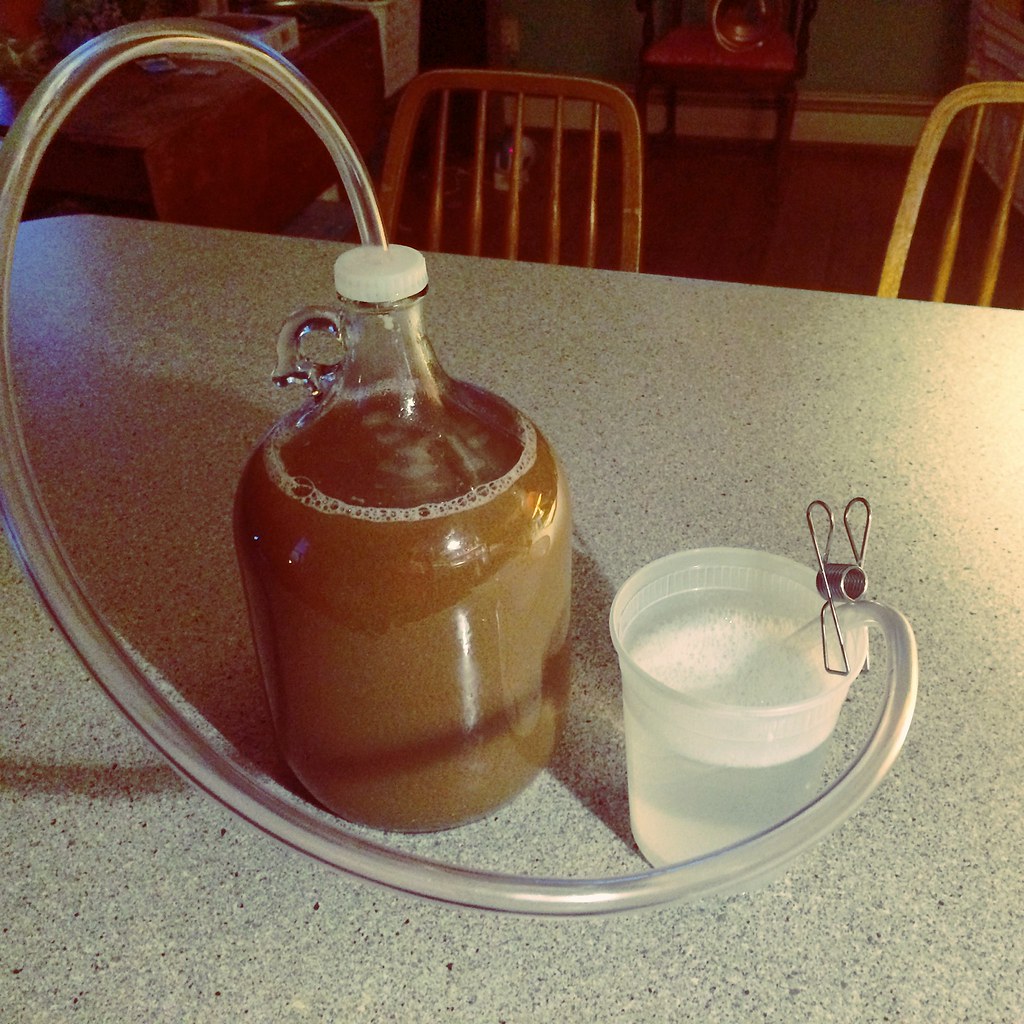
After the wort was cool, I add the yeast and funneled the beer into its fermentor. I used the one-gallon growler that came with the kit, but my next batch will go in the five-gallon glass carboy my dad gave me (thanks, Dad!).
After sealing the beer off with a tube/cup of sanitizer situation, I let the beer sit on the counter for two days. I was pleased to see signs of active fermentation happening, which was a sign that I hadn't killed my yeast off by adding it to wort that was too warm and that my yeast wasn't old/inactive.
Two days later, I replaced the tube with an airlock and put the growler in a dark place for two weeks to fully ferment.
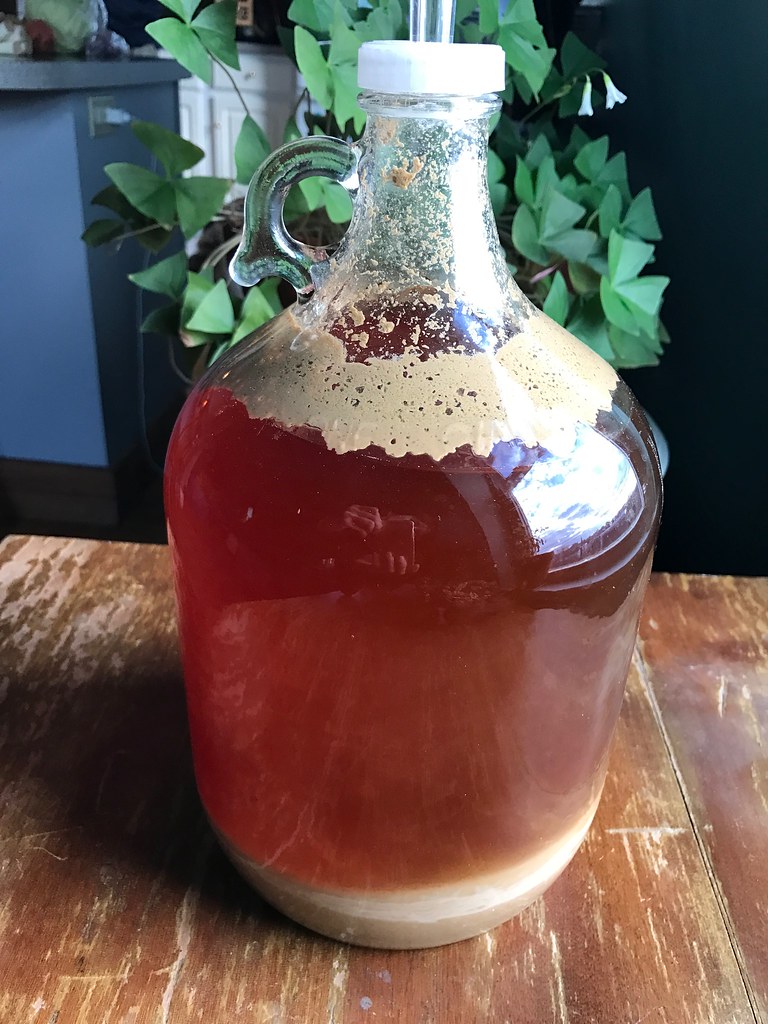
After two weeks, the beer looked pretty much the same, save for the couple of inches of sediment at the bottom of the growler. This is called the trub and is made up of yeast that has died after living its short, but useful, life. We thank you for your service, yeast.
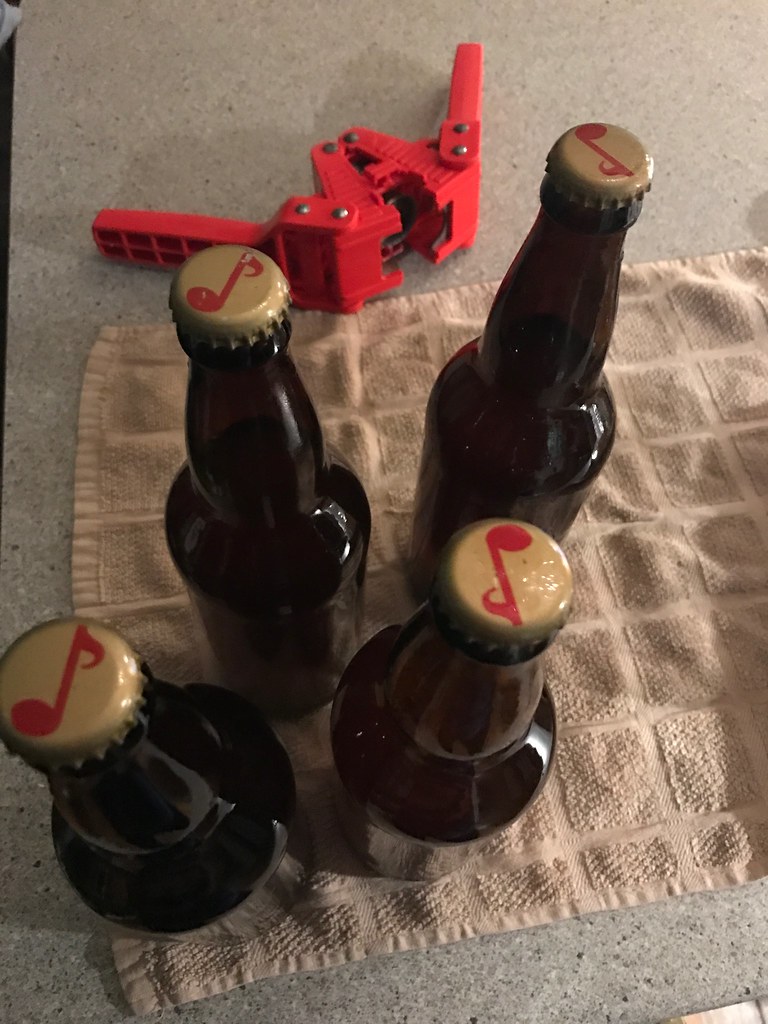
And now bottling time! The part where I probably screwed it up, due to sticking my less-than-sanitary hand into the beer a few times.
In order to create carbonation, I added some honey to the beer, before I siphoned the beer into four 22-oz. bottles (only four?!?) and capped them. Theoretically, the remaining yeast will feed on the sugar, create gas, and fizz my delicious-tasting IPA. There's a lot that could have gone wrong, so we'll see.
Two more weeks in the hole, and the beer will be ready. Stay tuned to Instagram for the taste test.